
NIKKOR Z DX 16–50 mm VR · Black · USA model
The DX VR zoom for compatible Nikon Z bodies. Keep it separate from the newer f/2.8 lens and renewed or accessory bundles.
Start with the picture. Learn what the lens changes, then choose the kit you’ll carry.
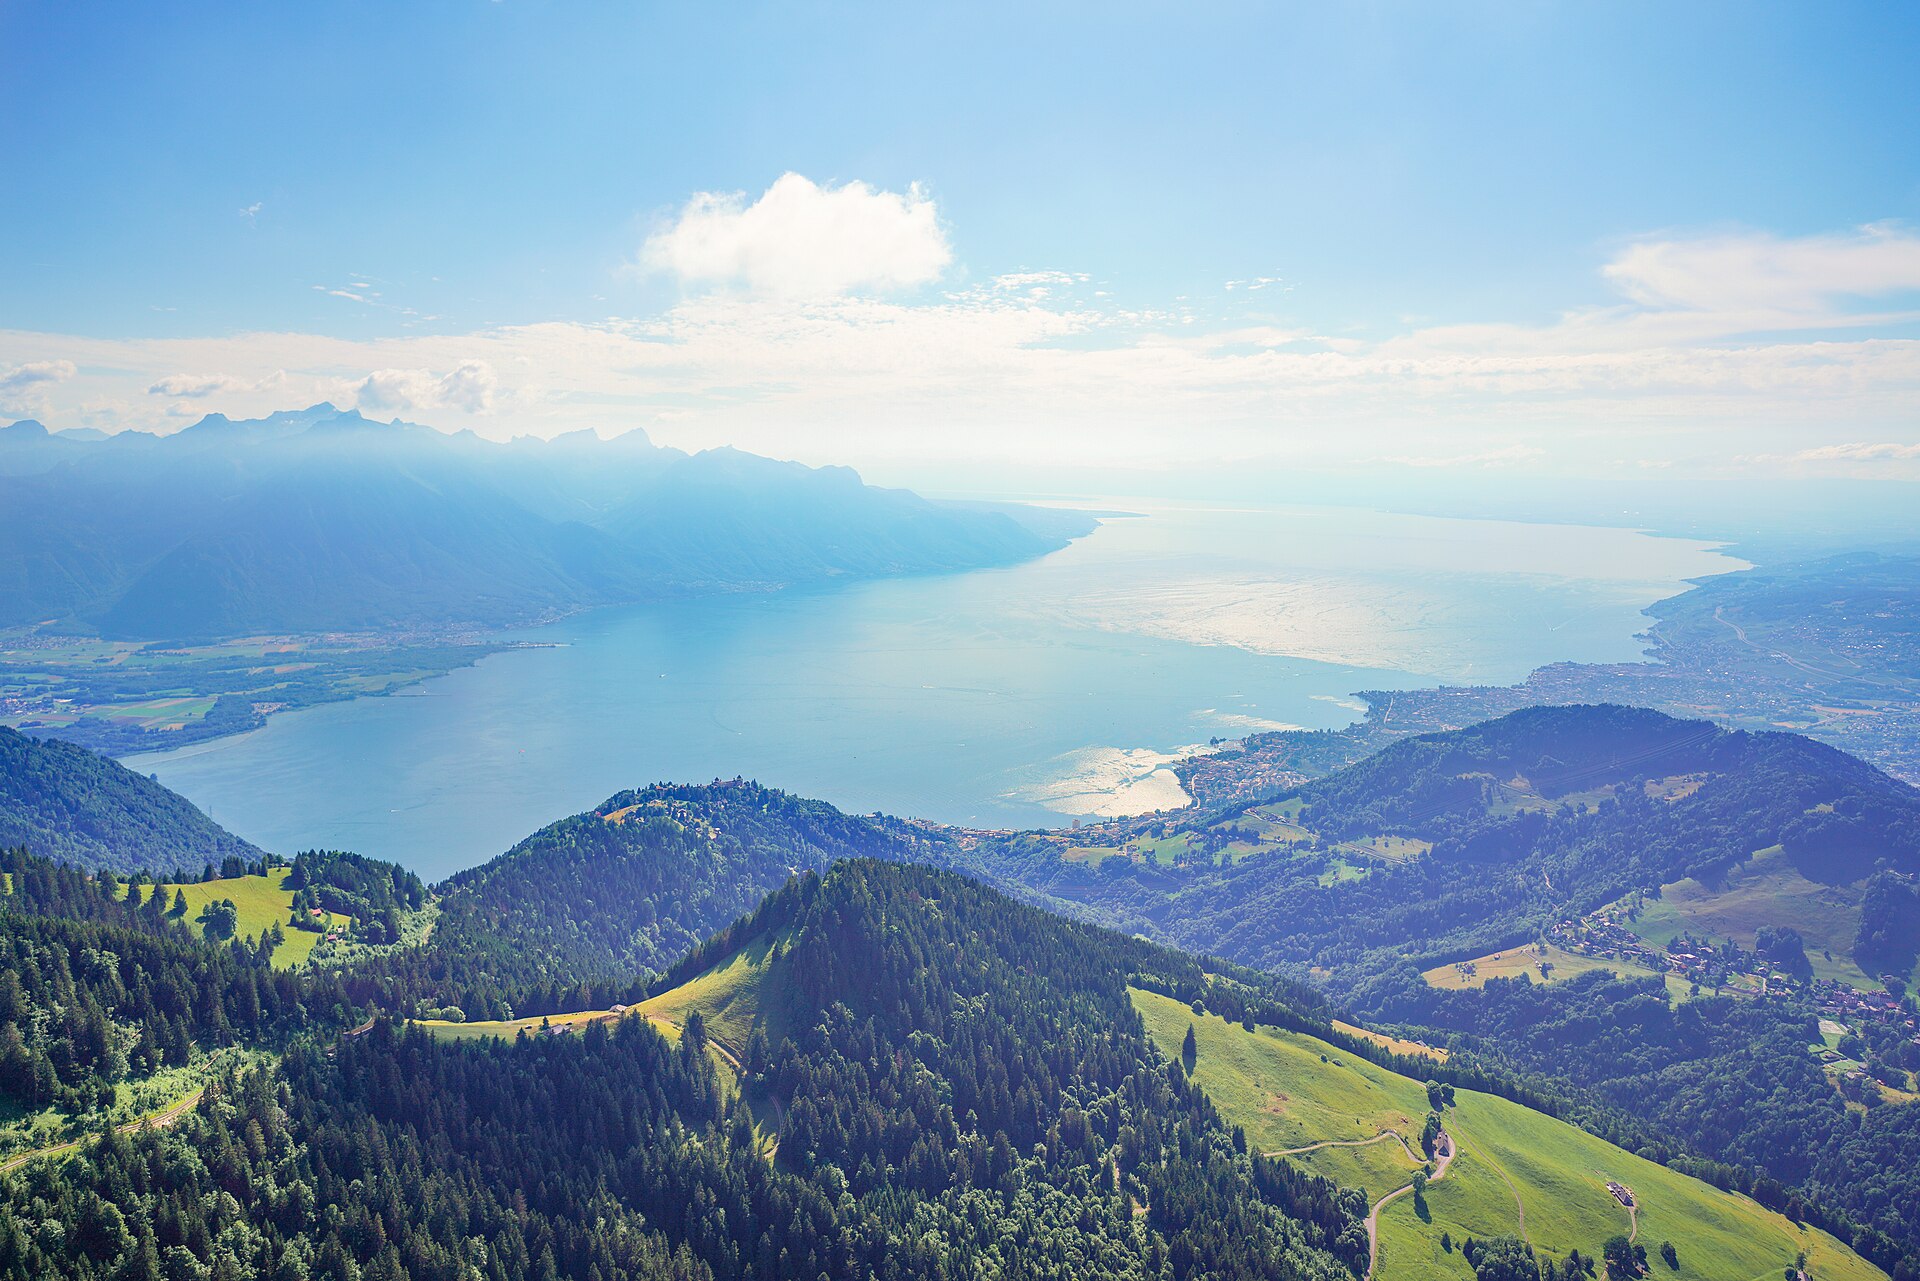
Same viewpoint, different framing. The ridges keep their relative positions in both views. The tighter frame shows less of the landscape.
Photograph by Giles Laurent, source and details · CC BY-SA 4.0; resized and cropped for this simulation. Centered 3:2 framing simulation, calibrated as a 24 mm-equivalent reference; it does not recreate the actual capture. At 2×, the illustration keeps the same shape for comparison rather than simulating the native 4:3 frame edges.
Change the tool inputs to see relevant references. Compatibility remains a separate check.
As an Amazon Associate I earn from qualifying purchases. These are optional references, not product tests or live offers.
The DX VR zoom for compatible Nikon Z bodies. Keep it separate from the newer f/2.8 lens and renewed or accessory bundles.
A DX-format Nikon Z prime. Rehearse the focal length on a compatible zoom before adding another lens.
A DX-format Nikon Z telephoto zoom to extend a standard zoom’s reach. It is not an F-mount lens; check camera support and the selected regional package.
The RF-S ultra-wide zoom. Check the exact camera’s support and crop behavior; do not confuse it with EF-S or another mount.
A native RF-mount prime, separate from the EF 50 mm lens. Check how 50 mm frames on your actual sensor size before choosing it for a small room.
A full-frame E-mount prime for compatible Sony bodies. Keep SEL50F18F separate from the APS-C E 50 mm F1.8 OSS; check the camera’s lens support.
The black US H-H025K model. Confirm Micro Four Thirds compatibility; it does not mount natively on Nikon Z or Canon RF.
The US black H-FS45150AK model. Check camera and stabilization compatibility; the selected entry is separate from refurbished listings.
Bryan Peterson’s fourth edition, ISBN 9781607748502. A reading companion for exposure practice, separate from earlier editions.
Michael Freeman’s definitive edition, paperback ISBN 9781840918878. Keep it separate from the ebook and earlier editions.
The full-size lens-cleaning pen. Follow LensPen and lens-maker instructions, remove loose dust first and use the appropriate tool for the surface; this is not a sensor-cleaning kit.
The selected listing names the unsuffixed aluminum twist-lock kit. It is not labelled as the BHUS regional package; check the exact contents.
Lens and mount checks · Rehearse on a kit zoom · Try the field exercise
Three ways into the notebook.
A photograph, a lens, a place to stand.

A street, a room, a familiar walk. Start with the scene you want to keep.
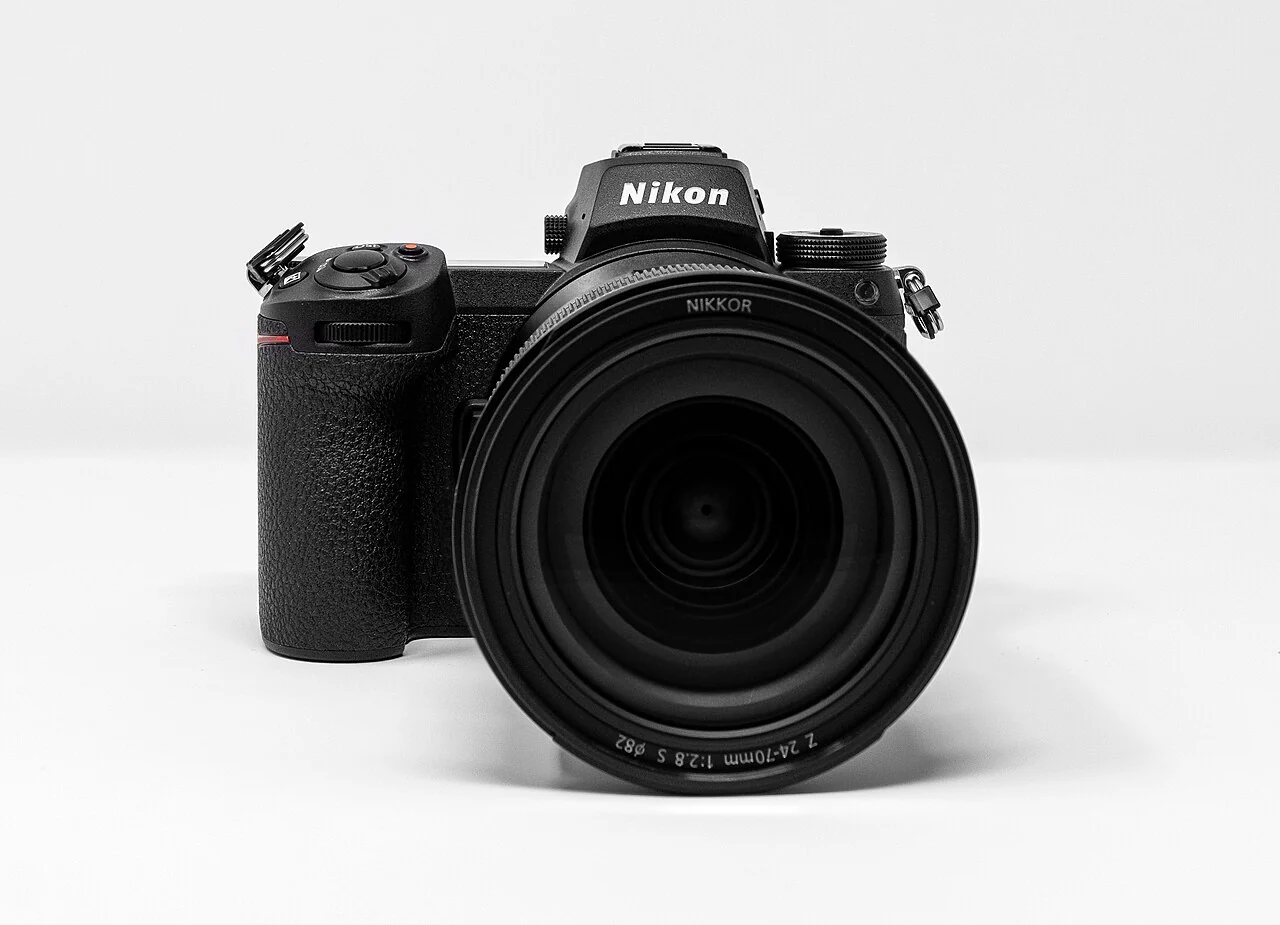
Body, lens and the space to use them. Work through the practical buying checks.
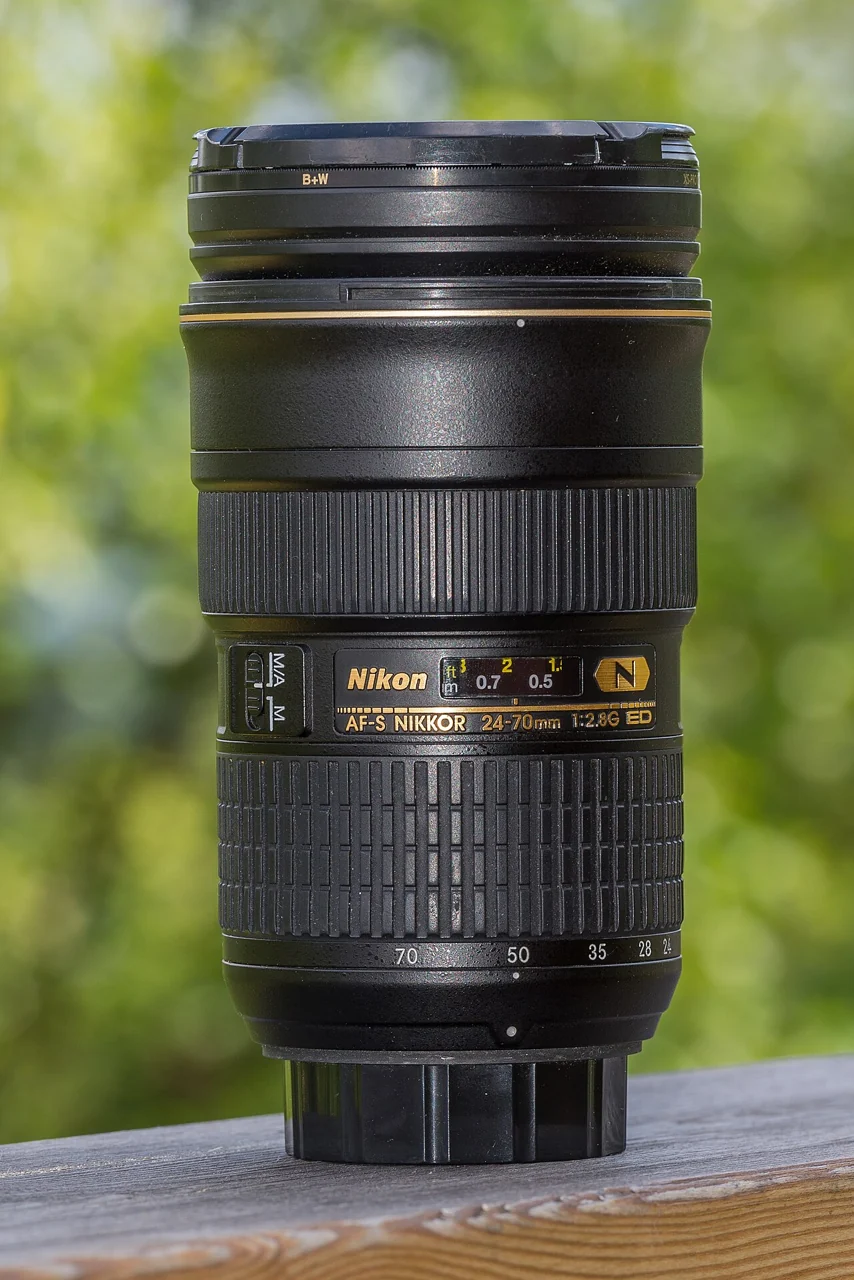
Actual millimetres, equivalent framing, and the mount that makes it fit.
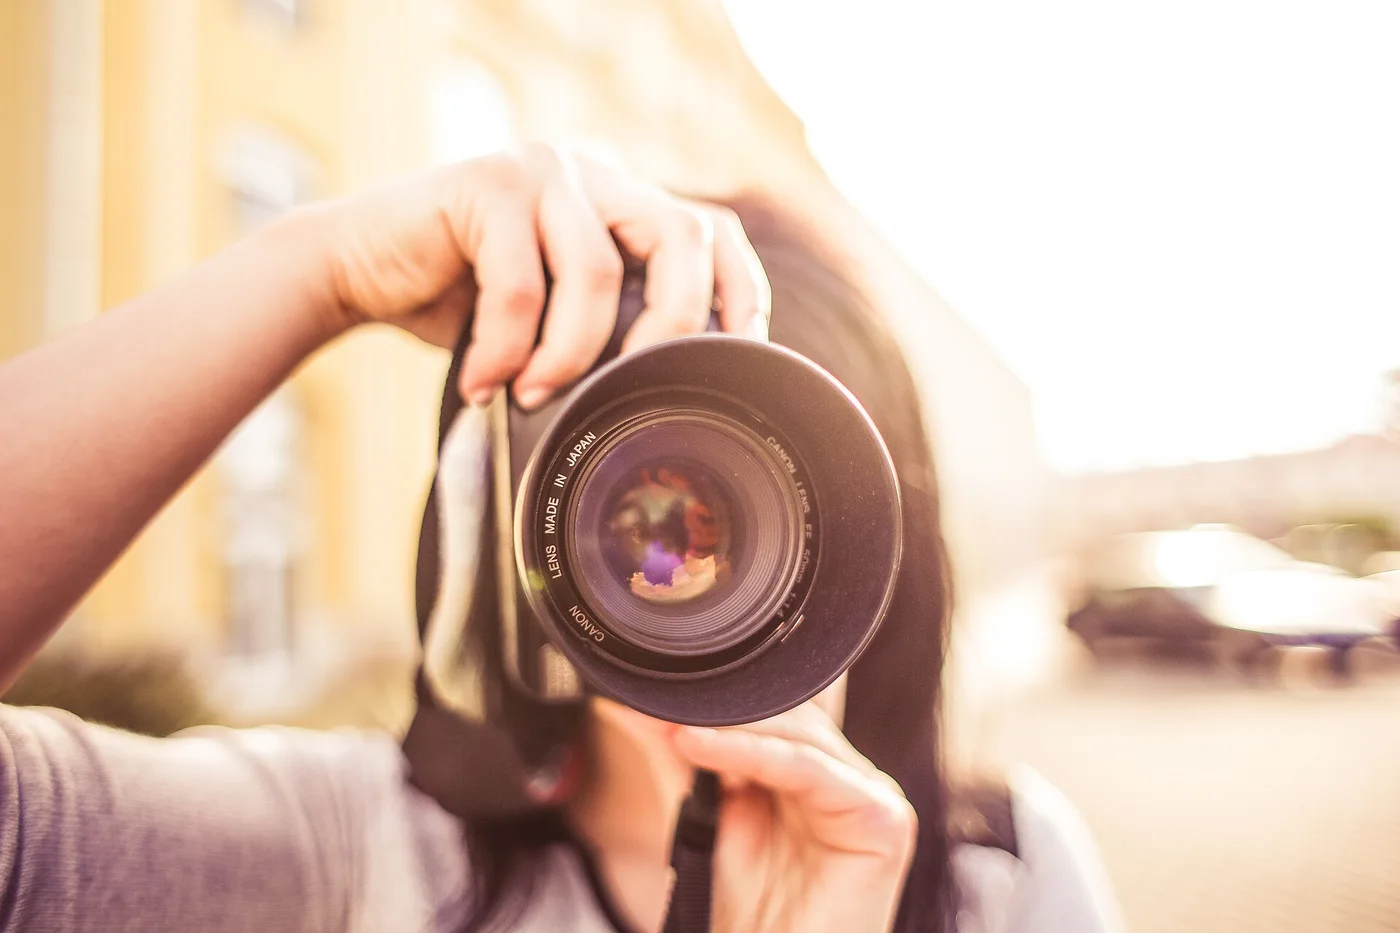
Find photography channels, official camera lessons and small exercises that give your next outing a purpose.
Find something to try →Compare ready-to-share JPEGs, RAW processing and paired capture with one short practice session before changing your everyday settings.
Read the comparison →Compare the NIKKOR Z DX 16–50 mm VR and 24 mm f/1.7 by framing flexibility, aperture and the space you can actually use.
Read the comparison →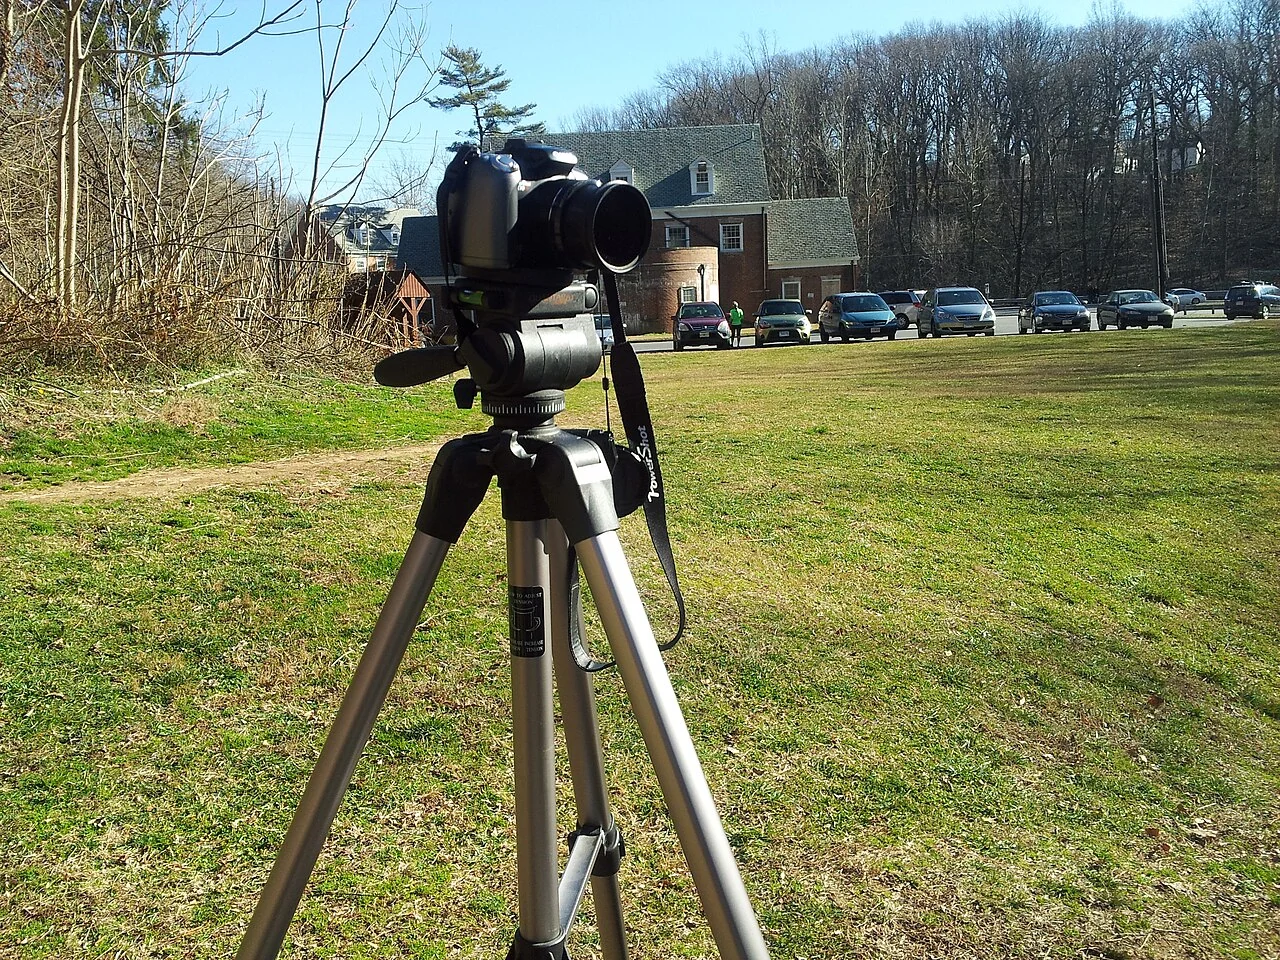
Compare the purpose of a folding ball-head kit and a three-way-head kit, then check the exact legs, head, plate and load together.
Read the comparison →Body, compatible lens and the kit you will carry.
Separate actual focal length, sensor coverage and mount.
Hold a viewpoint, choose a head and check the complete load.
Read in order for a first kit, or follow the question in front of you.
Start with your scene, working distance and the picture you keep missing.
Choose a complete usable kit, then check handling and compatibility.
Read the numbers on the barrel and rehearse the angle before buying.
Inspect a camera, subject and background in the original 3D position study.
Take two focal lengths and two standing marks into a real room.
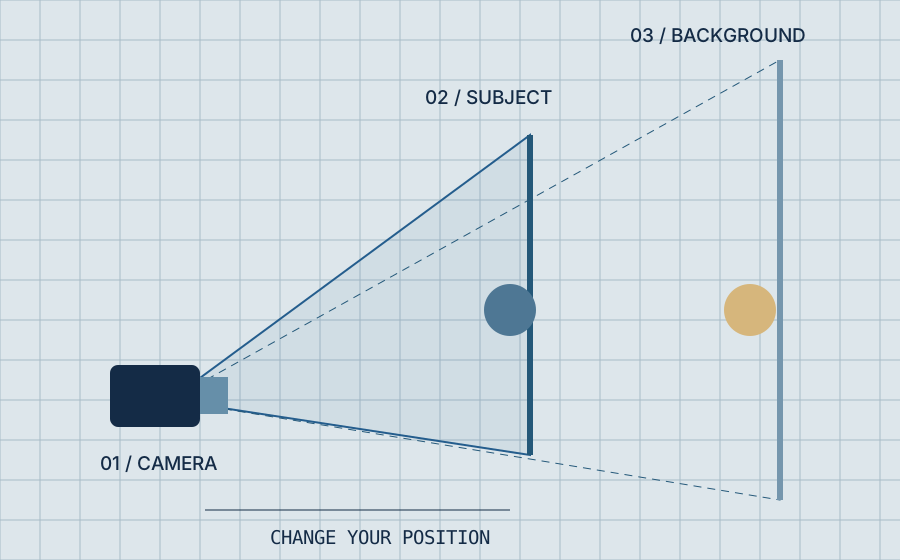
Keep a subject similarly sized with a longer lens and a step backwards. The relationship to the background still changes. Inspect it in 3D, then repeat it with your own camera.
Open the camera position study →Six worked situations · temporary on-device measurements
PHOTOGRAPHY / FIELD NOTE
Take a familiar route, change a setting, review a file and record the whole kit before deciding what to buy.
Open the note →
PHOTOGRAPHY / FIELD NOTE
Make a deliberate depth-of-field exercise without mistaking a soft background for a lens ranking or changing several variables at once.
Open the note →PHOTOGRAPHY / FIELD NOTE
Check the exact body and lens names before comparing focal length. A matching brand or sensor size is not a compatibility check.
Open the note →PHOTOGRAPHY / FIELD NOTE
Compare ready-to-share JPEGs, RAW processing and paired capture with one short practice session before changing your everyday settings.
Open the note →
PHOTOGRAPHY / FIELD NOTE
Use a dark scene, a light scene and playback warnings to connect the graph to the picture you want to keep.
Open the note →PHOTOGRAPHY / FIELD NOTE
Separate camera movement from subject movement, choose a shutter-speed trial, and read the result before buying stabilization or support.
Open the note →
Find a near subject and a distant background before you make your comparison.
Mark the camera position. Change the focal length. Keep the difference in your notes.


